Clipping horses is an important part of horse care, particularly in the colder months when a heavy winter coat can affect performance and make grooming more difficult. When done correctly, clipping helps maintain comfort, supports coat health, and makes daily care more manageable.
However, clipping isn’t without its challenges! It can be stressful for both horse and handler if not approached with the right preparation and care. The following best practices will help you achieve a safe, smooth, and professional result should you decide to clip your horse.
1. Pre-Wash and Groom Thoroughly
Why it matters:
A clean horse equals a smooth, even clip. Dirt, grease, and sweat clog clipper blades, making them heat up faster and cut less effectively. Worse still, they can cause painful pulling on the horse’s skin.
Best practices:
-
Wash the horse the day before with a mild shampoo to remove dirt and grease. Pay special attention to areas like the girth, flanks, and behind the ears.
-
If it’s too cold for a full bath, use a hot cloth with a diluted no-rinse wash to lift dirt and grease.
-
Dry thoroughly. Never clip a damp horse, as it damages clippers and risks leaving uneven lines.
-
On clipping day, carry out a full grooming routine—currying, brushing, and wiping down—to ensure the coat is thoroughly clean and free of dust.
-
If bathing isn’t possible, the next best option is a thorough 30–60 minute groom. Work the brushes deep into the coat, but steer clear of products like oils, as these can clog the blades and shorten their life. You’ll need the right brushes and plenty of elbow grease!
-
Clip type matters: For lighter clips (bib, Irish, trace, or chaser), a deep groom is often enough. But for hunter or full clips, a full bath is essential—especially along the topline, rump, and legs where grease and mud accumulate. Heavily feathered horses, in particular, need extra attention on their legs.
-
The cost of skipping prep: Professional clippers expect to get 5–10 full clips from one set of blades on a clean horse. On a dirty coat, it could take four sets of blades to finish a single clip. Worse still, blunt blades pull and “chew” the hair, much like a painful wax, while excess strain on the motor risks overheating or even burning out the clipper.

2. Prepare Your Clipping Area
Why it matters:
Clipping can be messy, noisy, and stressful for the horse. A safe, calm environment reduces anxiety and helps the job go smoothly.
Best practices:
-
Choose a well-lit, quiet area with non-slip flooring.
-
Use a safe tying method (such as cross-ties or a quick-release knot).
-
Keep scissors, brushes, spare blades, oil, and wash within easy reach.
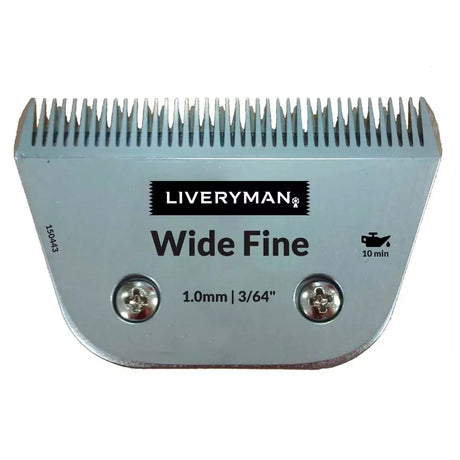
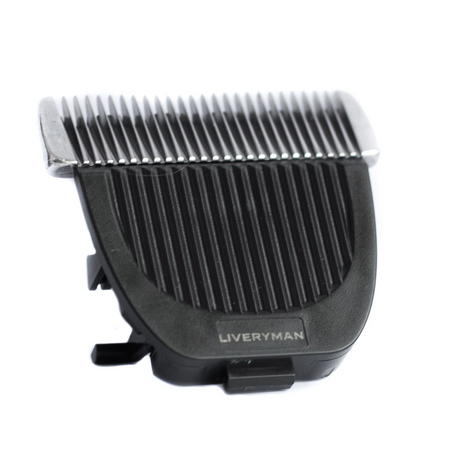
3. Correct Clipper Setup
Why it matters:
Poorly set up clippers can cause discomfort, tugging, or even injury to the horse. Proper preparation also extends the lifespan of your equipment.
Best practices:
-
Check the tension: Too tight and blades will heat up; too loose and they won’t cut properly. Adjust according to manufacturer guidelines.
-
Use sharp, clean blades. Dull blades pull on the coat and can make clipping painful.
-
Have a spare set of blades ready in case one set overheats or dulls mid-clip.
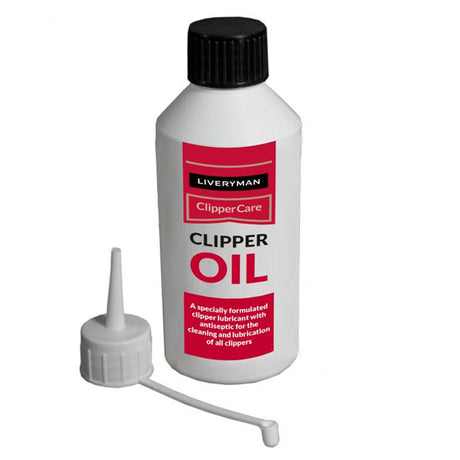
4. Blade Oil & Wash
Why it matters:
Blade maintenance is crucial for efficiency and horse comfort. Non-lubricated blades overheat quickly, risking burns and discomfort.
Best practices:
-
Apply clipper oil every 5–10 minutes during clipping. A light coating across the blades prevents friction and overheating.
-
Stop regularly to wipe off hair and re-oil. This keeps the blades cool and the cut smooth.
-
After finishing, always wash blades in blade wash - like the Clippersharp Blade Wash - to remove grease and hair, then dry and oil thoroughly before storage.

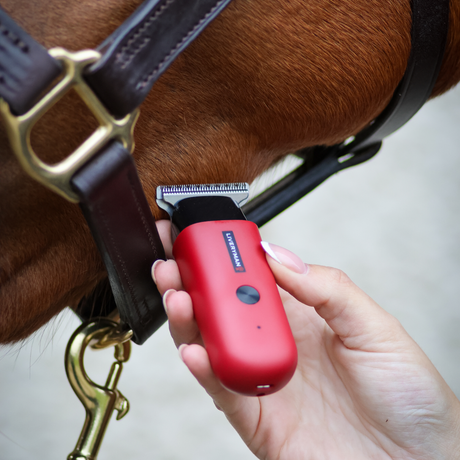
5. Technique & Horse Comfort
Why it matters:
A calm horse allows for a better clip, and a patient handler ensures safety.
Best practices:
-
Start in a low-sensitivity area (like the shoulder) before moving to tricky spots.
-
Work in long, even strokes against the coat.
-
Keep one hand on the horse for reassurance while clipping.
-
Offer short breaks if the horse becomes restless.
- Horse ear plugs are a great way to help keep your horse clam throughout the clipping process, as well as calming supplements.
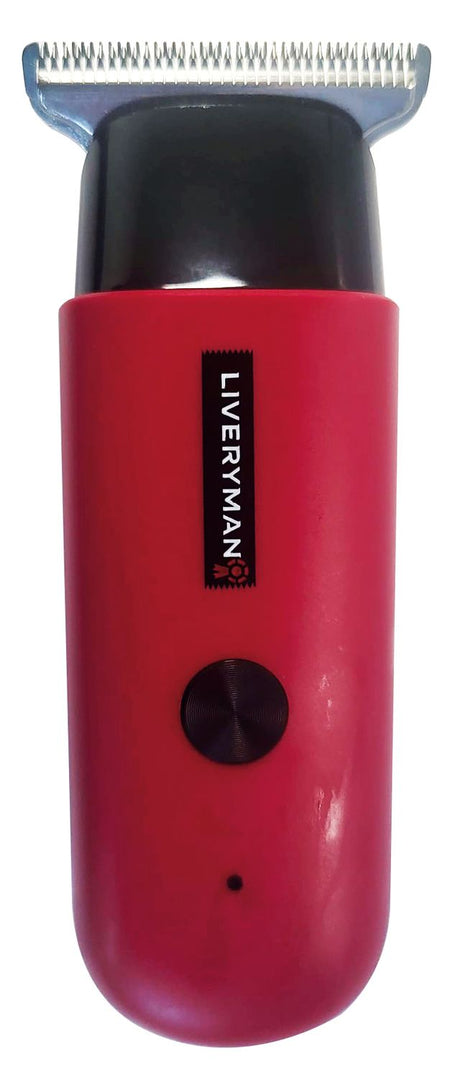
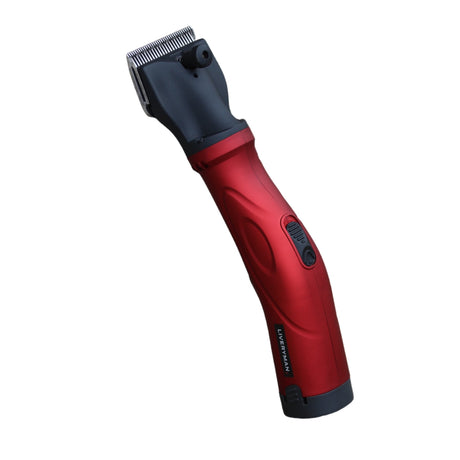
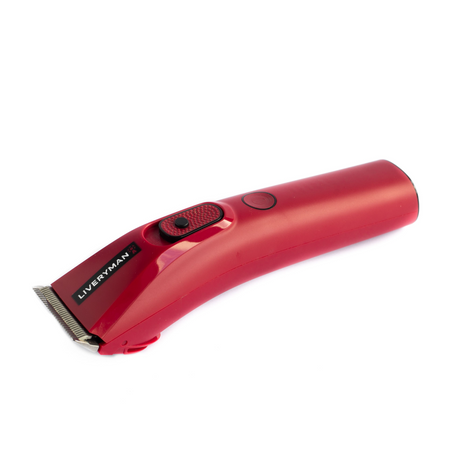
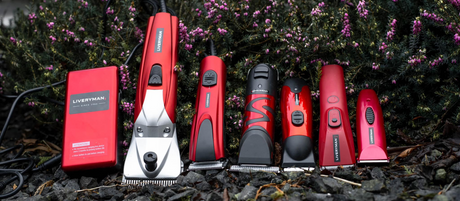
6. Clippers vs. Trimmers
Why it matters:
Using the right tool for the job not only makes clipping easier but also ensures your horse’s comfort. Clippers are designed for large surface areas and thick coats, while trimmers are quieter and lighter, making them better for sensitive zones. Choosing incorrectly can result in uneven clipping, equipment strain, or unnecessary stress for your horse.
Best practices:
-
Use clippers for full or partial body clips, particularly on horses with dense winter coats. Their power and wider blades handle bulk hair efficiently.
-
Switch to trimmers for delicate areas such as the face, ears, legs, and fetlocks. Their quiet operation and smaller blades make them less intimidating.
-
Keep both tools on hand if possible, so you can move seamlessly from broad clipping to precision tidying.
-
Always match the tool to your horse’s needs—nervous or young horses may tolerate trimmers better, even for light body work.